
The wheels that came with the came with the car were structurally sound, but in pretty terrible cosmetic condition.


Believe it or not this is the best wheel of the 4, I really should have taken pics of the worst before I started but I just wanted to fixit-fixit-fixit and got carried away. As you can see there's kerbing, bubbling lacquer, corrosion both on the face of the wheel and the inside.
Fixing this professionally would have cost about £100 per corner. A new set of alloys is about £150 a corner plus tyres if the rim dimensions are different. So for the moment, I couldn't really justify the expense. The wheels still needed fixing though, so I decided to spray them. I have seen this done a number of times before, and can yield pretty good results, but you do need a smooth base to work with, so out with the power tools it is.


For this job I need to get rid of all the flaking lacquer, so for that I have the wire wheel on both the drill and the grinder. Then i need to smooth out the kerbing, and scratches, so for that I have a flapping sanding wheel (40 grit) and a rotary sanding (120 and 180 grit, not pictured) to finish off.
The paint I am using is Rust-oleum Peel Coat. Its the plasti-dip equivalent product that Halfords sell. This will give the wheels a matte black finish with a slightly rubberised feel. The advantage with this paint is that if you don't like it, you can just peel it off. Its not a permanent paint though. I have seen examples last a few years, but it will tide me over for now. At £10 per can (enough to do 1 wheel with a decent number of coats), its a fraction of the cost of a professional refurb job.


No point in washing the wheels first as the act of grinding and sanding will get them dirty anyway, plus it acts as a convenient track of what bits have been sanded. Here's a few closeups of the results. I could have spent a lot longer on these and taken all of the old paint and lacquer off down to the metal but that's not really needed. All that was required was a smooth, secure, surface for the paint to adhere to. The Peel Coat doesn't require a primer, so once it was all sanded smooth, the wheels were rinsed and ready to go


I employed the services of an assistant to do the masking up. The eagle-eyed among you will have spotted the rear wheel in the background already completed. Ignore that for now :)
The masking only needs to really protect the face of the rubber. As its matte black, over spray wont really show up but I didn't want to have a messy two-tone black result so this worked out better in the end.


The spraying process is pretty straight forward. Light coat to start with, just to key the surface, wait till its dry to the touch then re-coat with repeatedly thicker coats, being careful to avoid runs. Dry time between coats was allegedly about 20 minutes, but it was dry to the touch after about 5 in the warm weather.
Not quite sure how many coats but all sides (including the inside) got at least 3 coats. I think the faces probably had around 5 or 6 coats.


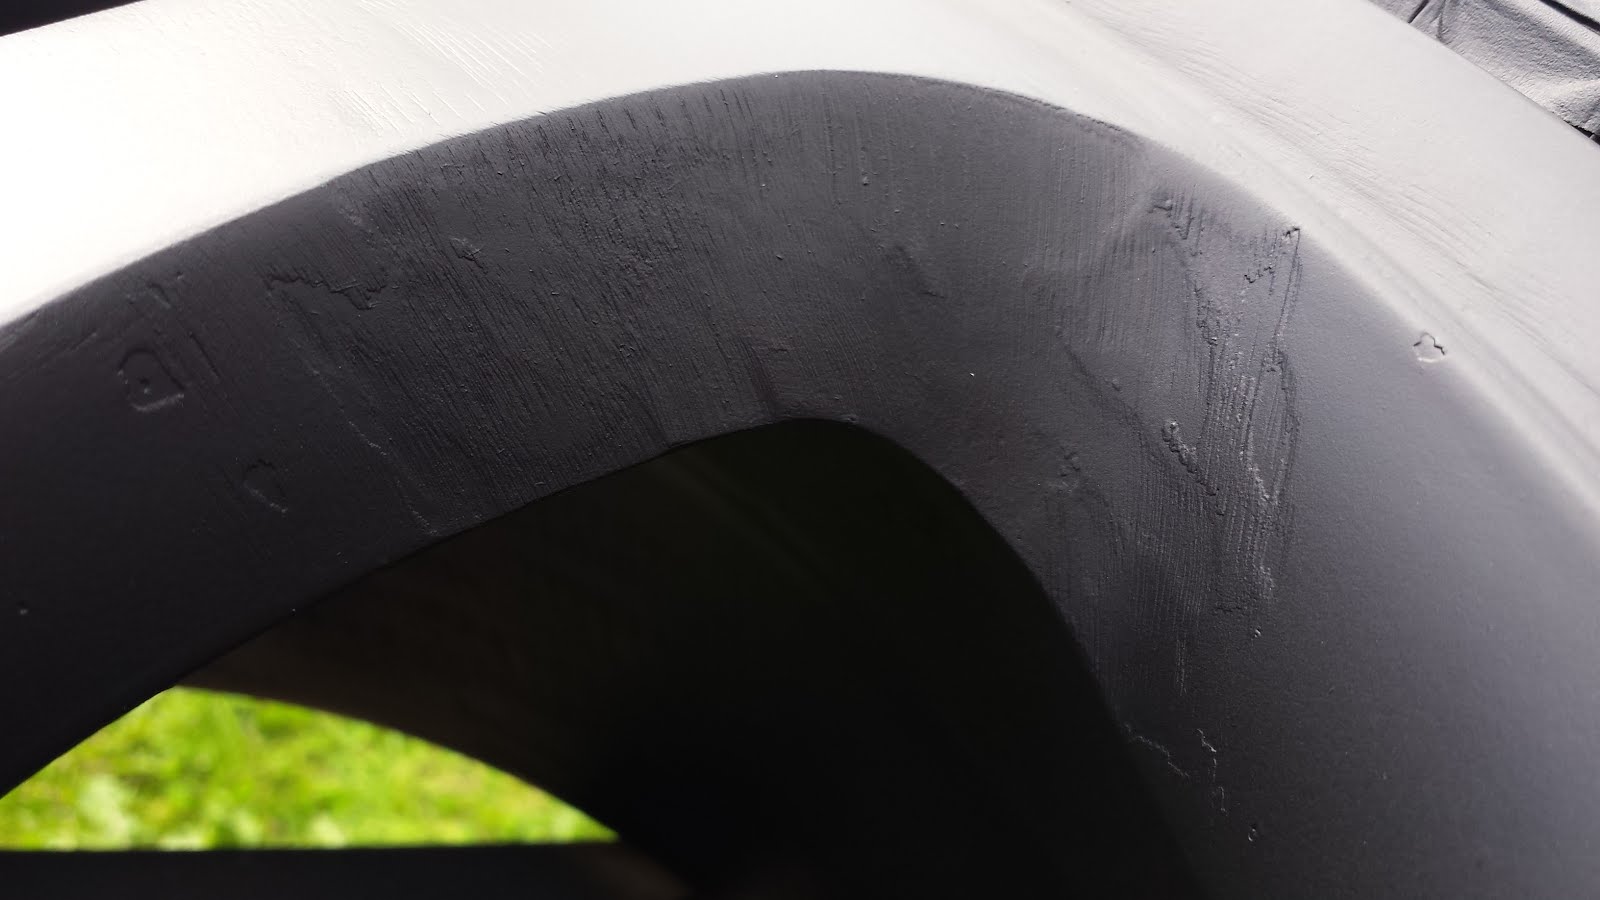


Some close up shots of the surface. As you can see the finish wasn't perfect. If I had spent more time sanding, with finer grit paper this wouldn't have been an issue. This one was done with the 40 grit flapper because I didn't have the 180 grit at the time. The others still have some graining though. Needed some wet and dry to do it "properly" really, but as each wheel only took about an hour, plus spraying / drying time, I think it came out really well.


So there we have it, a before and after shot. Not bad. Pretty good for £40.


No comments:
Post a Comment